You recall this from 2 posts ago... a stoneware chanukia (also spelled "chanukiah" or "hannukia", meaning Chanuka menorah) seen at the Ha'aretz Museum in Ramat Gan, Israel.
(Chanukia, collection of the Ha'aretz Museum, Ramat Gan, Israel. Traditional Lions of Judah brushed cobalt decoration and white glaze, over dark stoneware.)
It looks relatively simple, so I've been trying variations this week on the potter's wheel. Here are the steps involved in my third variation on this design. This one is the best so far.
Start with 8 lbs of clay.
(Kneading up 8 lbs. of clay is very good exercise for your arms.)
Separately, roll and flatten a thick coil, and impress it with 8 indentations, to be deepened and widened later after attaching to the chanukia. Set aside to firm up a little. (It will be cut to fit later.)
(Starting the top of the chanukia.)
Throw a cylinder (here, 11" tall and fairly narrow at the rim). Score (scratch) and slip (moisten with liquid clay) the cylinder a few inches down on the inside.
(11" tall cylinder, about 6.5" wide at the mouth. Note: Don't use a lot of water when raising and thinning the cylinder walls.)
Carefully bring the sides of the cylinder toward each other, pressing them together at the score marks and upward, and gently pressing inward the belly below that, too. The goal is to have a flattened oval profile and a closed rim.
(Beginning the cylinder squash.)
(Squashed cylinder with closed rim. Maybe I should've made the top section thicker, not sure.Should have scored the entire interior wherever the sides will touch, too. Next time.)
Time to add a top: Slip and score the top and sides of the pressed-together cylinder rim, and do the same to the underside of that chanukia top that was made earlier. Drape the pre-made top over the pressed-together rim. Carefully press down to attach the parts, taking care not to mess up the indentations on the top surface where glass oil cups will go. Pinch the sides and bottom of the new addition together at intervals to really get a good join.
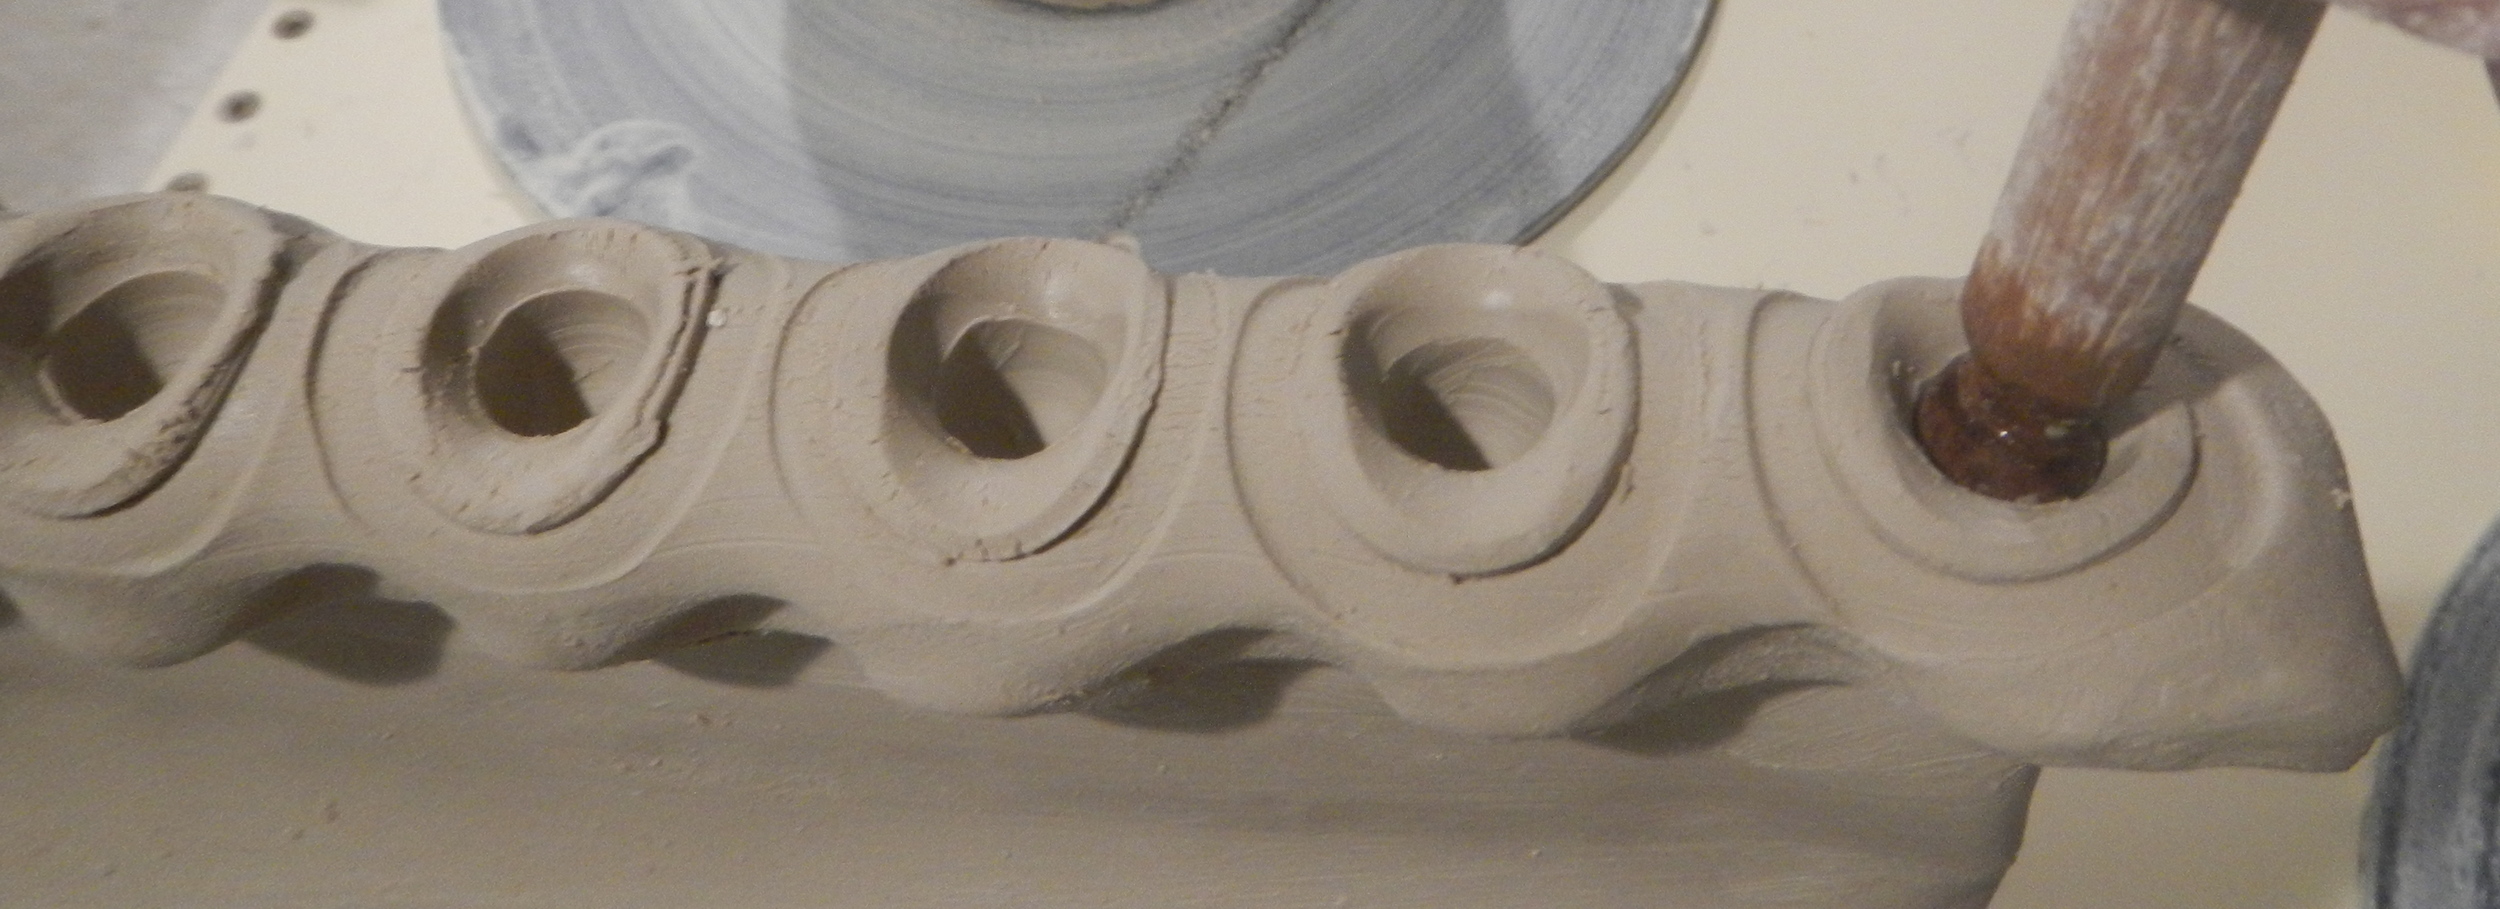
Now deepen the indentations where the glass oil cups will sit. The glass cups have a little nub on each bottom that sits into each indentation.
(Deepening the indentations in the top of the chanukia, using a small stick with a round end that's been sprayed with WD40 motor oil to prevent sticking. These indentations will accommodate the bottoms of glass oil cups.)
Make a tapering coil, pull the end a little to make a tail, score, slip, and attach. Hollow it out after to accommodate a shamash candle.
(Adding a coil to be the shamash holder.)
(Close-up of the shamash holder. I will clean it up a bit when it has firmed further.)
Here is the sum of those parts, so far.
(Freshly made chanukia, to be cleaned up after firming to soft "leather hard." It is 11.5" tall in the raw state.)
When it has firmed up quite a bit, I will do some colored underglaze brushwork to decorate it.
I made all of this at one go, throwing, altering and adding clay. It's a pretty spontaneous process that depends on everything being done right the first time. You can't fuss or fiddle with it or it will look messy at best, and collapse at worst. This one was a little fussier and fiddlier than I wanted, but not too terribly so.
I'll continue to tweak this design different ways and see what happens.


